The Dual Infinity Coil,
by J. C. Martin, III
The main purpose of this article is to discuss the two photographs below and to explain a few notions in regards to vaping with rebuildables.
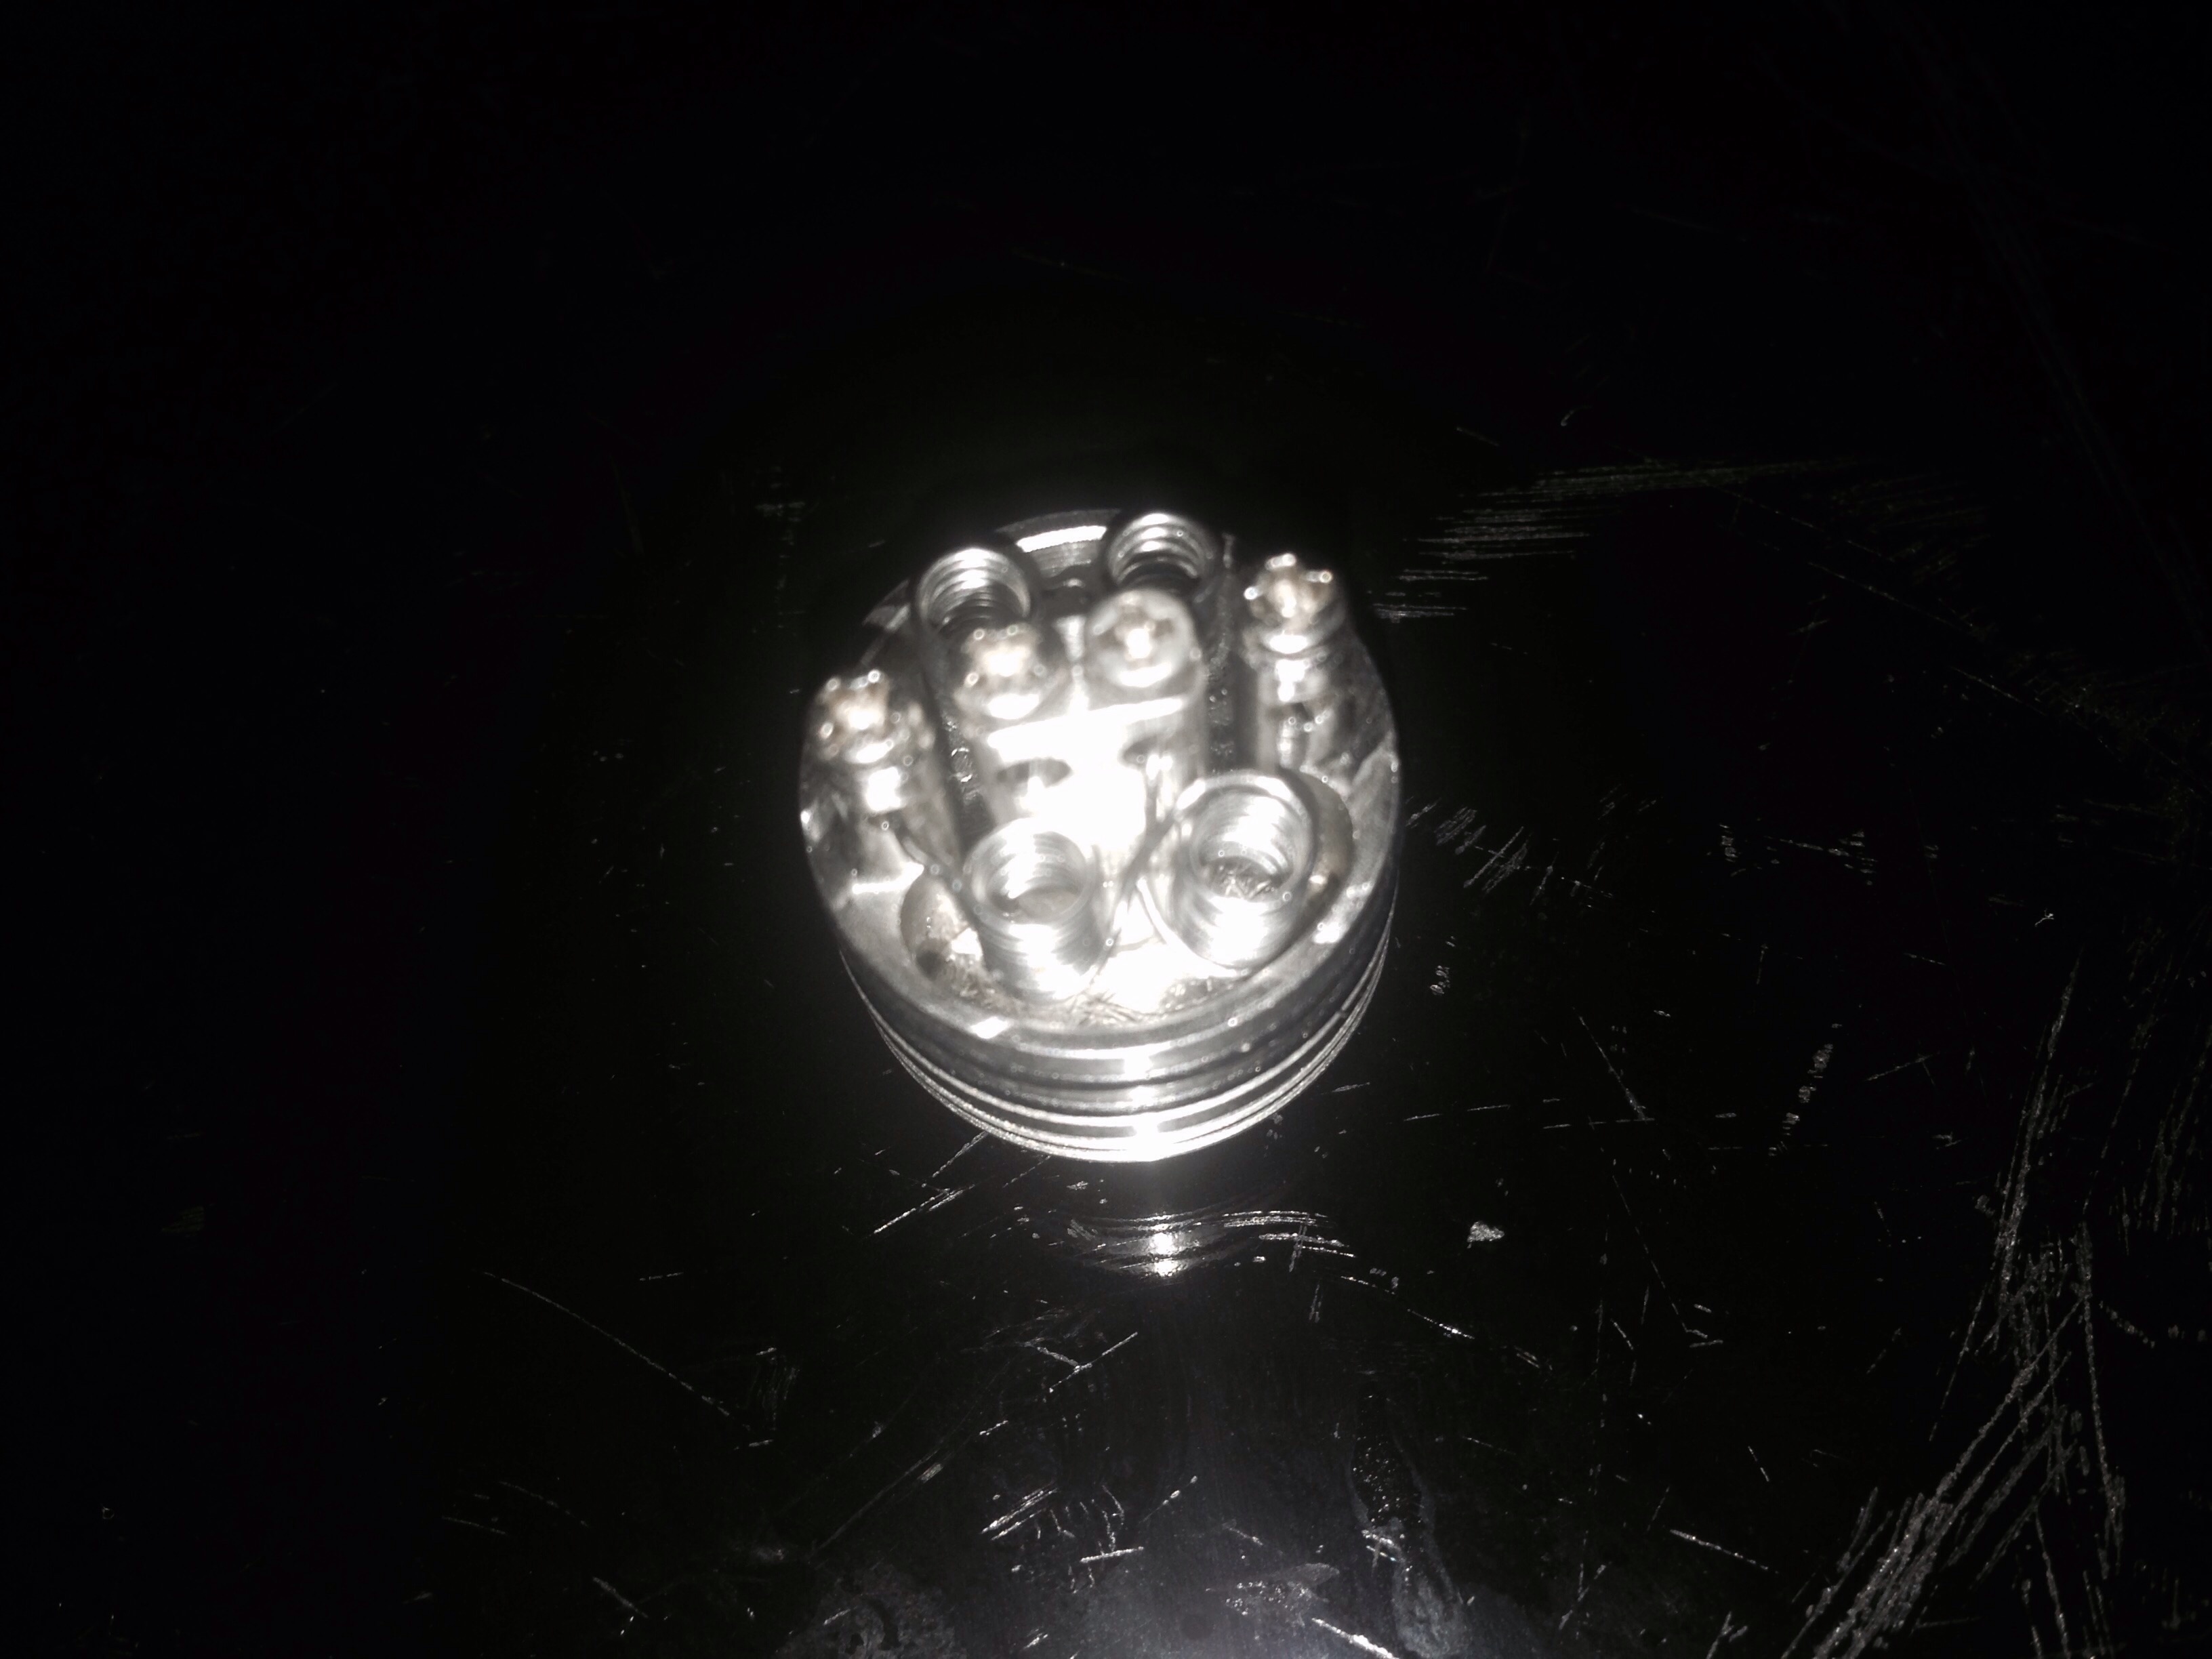
The photo above inspired what you see in the photo below it. As I usually build horizontal coils for vaping, I decided to try out a Chimney Coil. “How should I do it?” I wondered. I thought about a single chimney for airflow or dual chimney to increase the size of a vape cloud. As I was thinking, I thought, “Why not do a quad-build, with only two wires, so the central post’s screws won’t risk loosening?” So that is what I decided to do. I also decided to use 24 gauge Kanthal, in order to crank up the watts a little. One reason I wanted to do a chimney coil build, too, was the notion of tank-bottom e-juice. With this design, the organic cotton could soak up extra e-juice, and I could be less cautious with how much or how fast I dropped the e-juice onto the top of the heating elements.
These notions proved accurate; the build vaped fantastically. As I was building and winding the wire, however, I thought about what I had learned in various diy coil building videos. These ideas stem from polarity research. Some of what I know came from reading electronics writings by Forrest Mimms, who is an electronics engineer who enjoys making miniature lasers. To make it simple, electrons flow through their conductors via the simplest path of least resistance. When you see a professional Vaper build a coil in a video, he or she will usually test its connection before installing the organic cotton. They always want the middle of the coil to glow orange first – when it does it means that electrons are flowing through the element in an even and proper, most beneficial manner.
That is what is wrong with the coils above. Though they are neat-looking and did work fine, you can notice that the four coils only use two wires. Each pair is connected by a single wire that is not actually a part of the coils’ wraps. This part of the coil pair has less resistance than the coils do, and therefore actually heats up to turn orange before the coils do. This is what one does not want, because the coils are what evaporates the majority of the e-juice and not the coil pairs’ connection wire. The build above is not as safe as other builds, because the sole wire connecting the pairs could easily start a fire.
“How can I solve this problem, and what will be the best way to do it?” I wondered. I came up with more than one solution. One idea that I almost attempted was to make a single coil, twice as long as a normal chimney coil, and bend it in the middle to make a “v.” This idea was outdone, however. I solved two issues with the coil build below. The first problem was in relation to dropping e-juice on the coil so it can soak into the organic cotton well, even though the coil’s wires would have distance in between them, an idea many builders will shy away from or not, by opinion. The space allows for the build to be possible, though, as the wires are wrapped in such a manner to make both coils simultaneously. I used a two-rod tool to do it, the windings resemble an infinity symbol as they are constructed. The rod tool I used was made from three wooden cooking barbies, the shortest one was in the middle to allow space for winding the coils. When winding either the coil structure above or below, go with the one below. It is best.
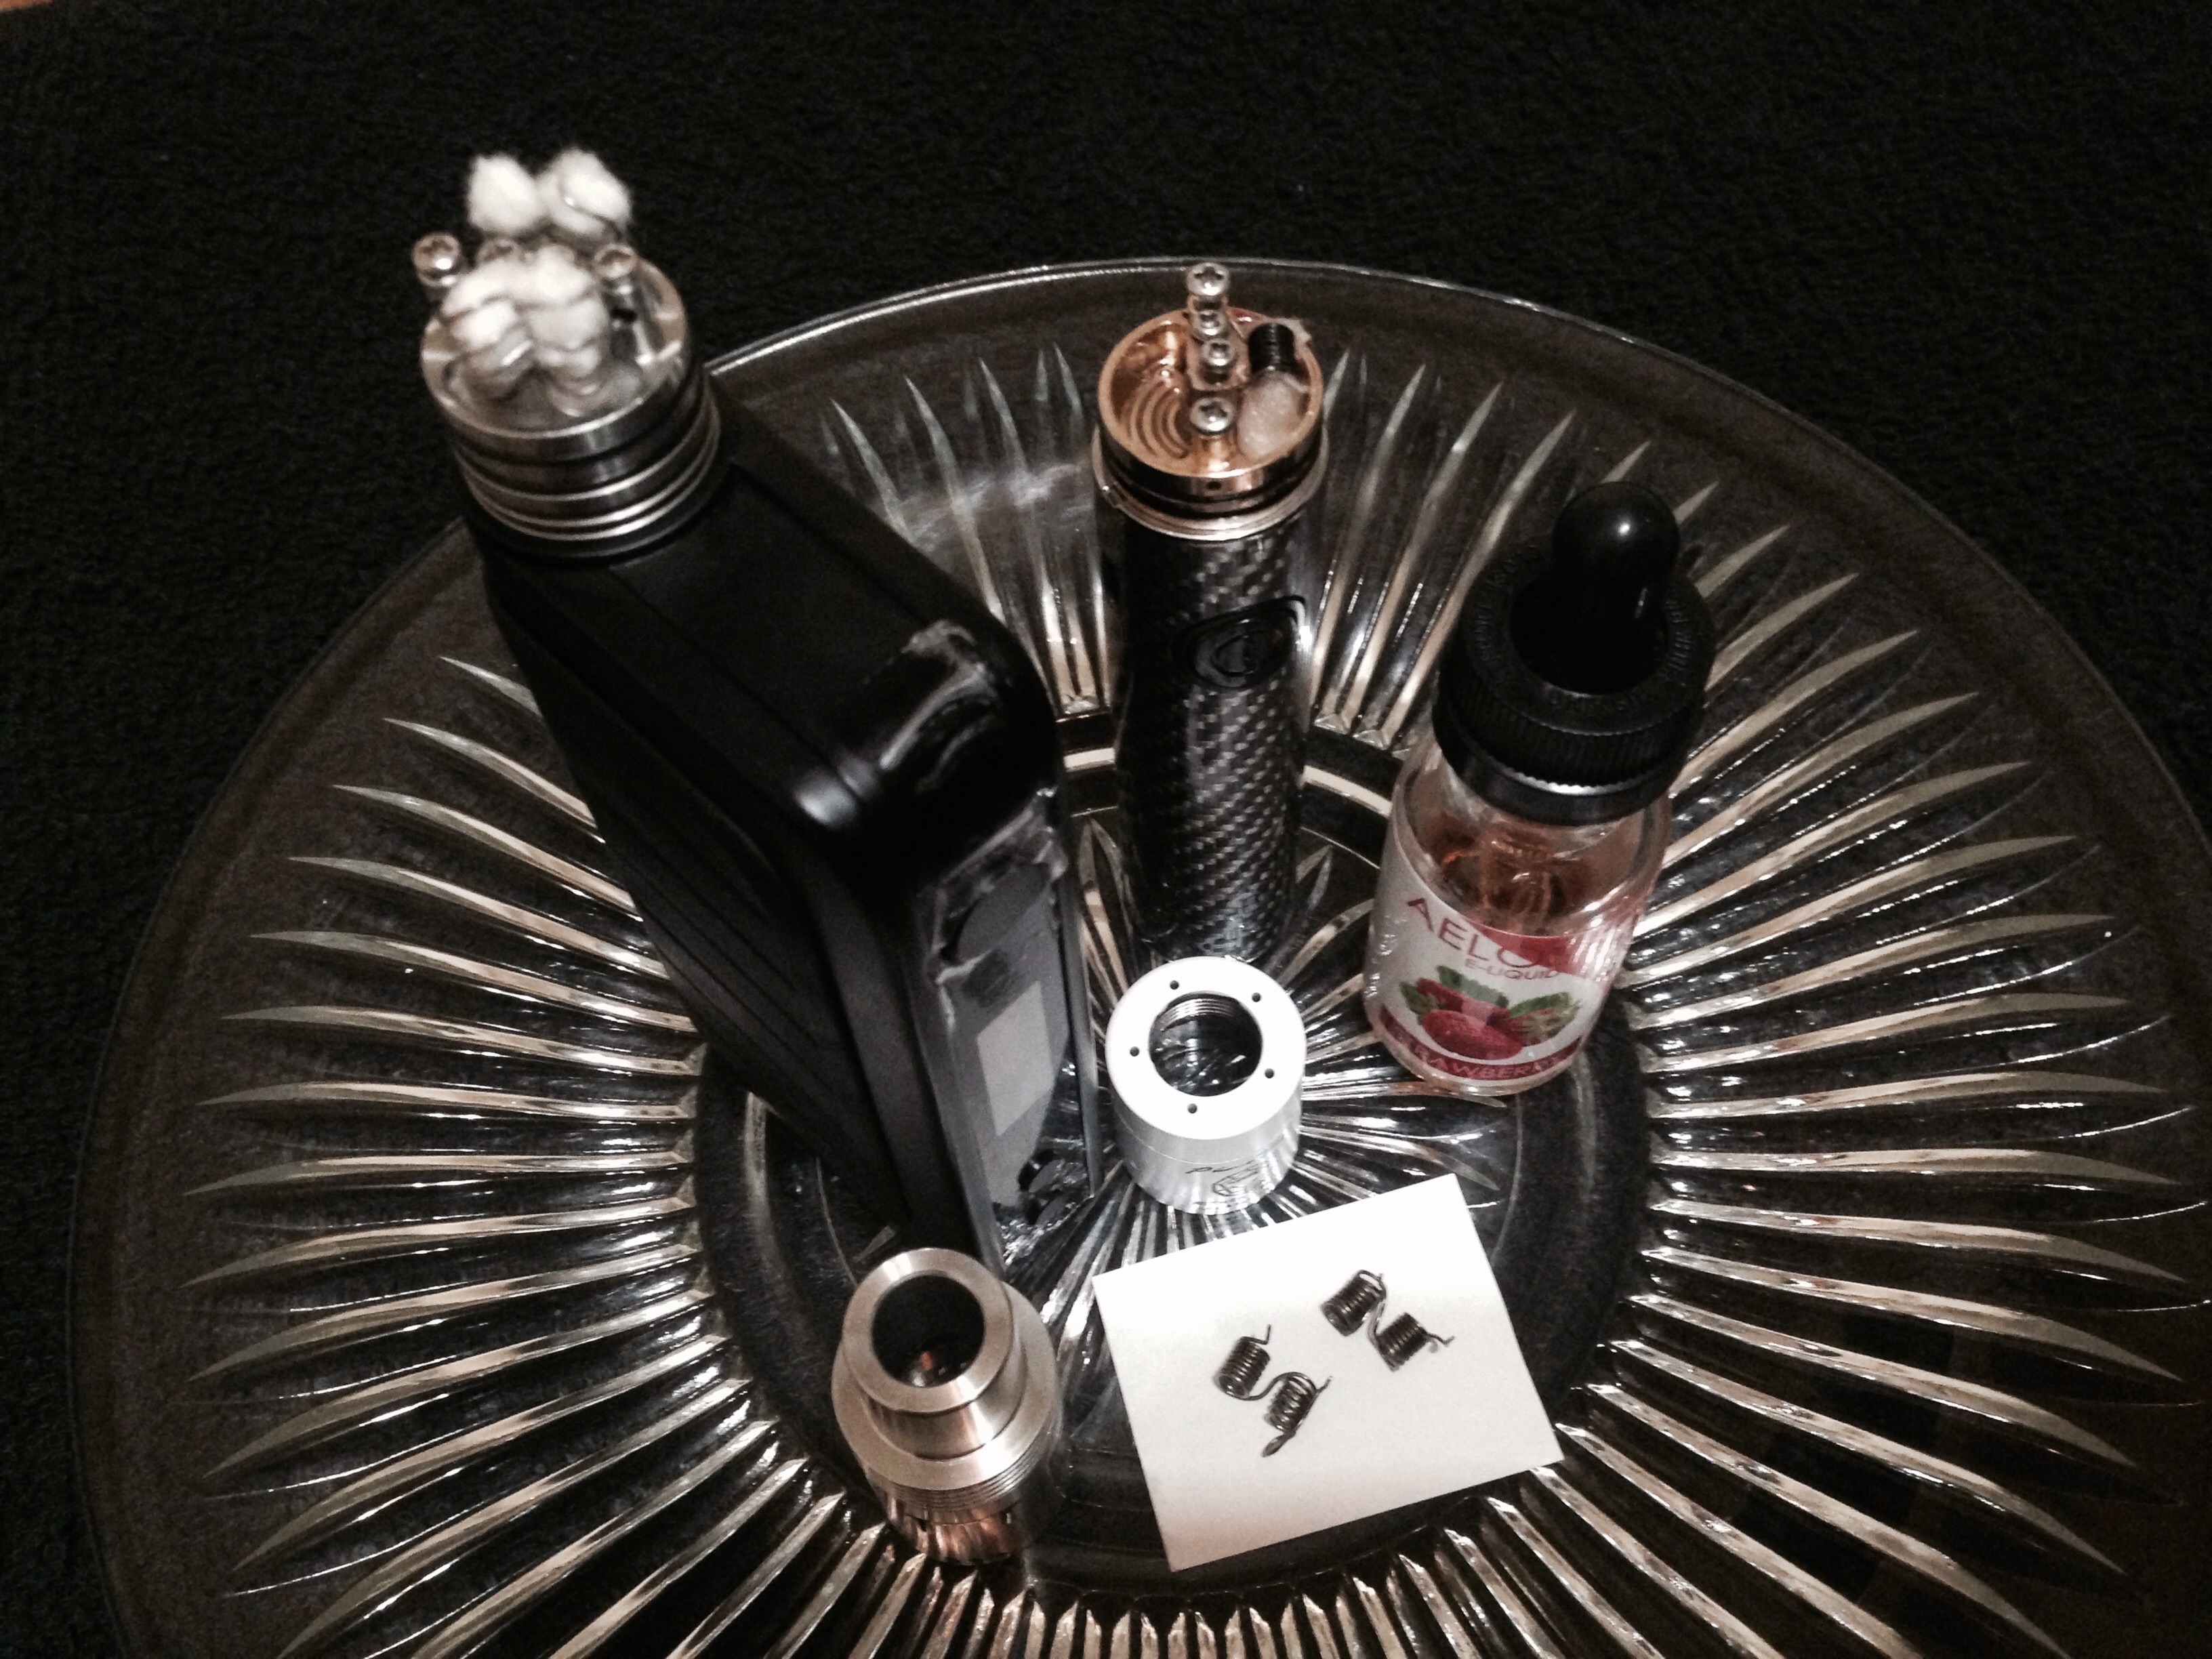
Let us take a look at the picture above. The coils in the bottom of the photo show what I was talking about. The little wire connecting the two coils is the connection wire I was explaining. It is what gets hot first, and not as beneficial as the other coil build. The Dual Infinity Coil is depicted on top of the IPV 4s mod, which I plan to review, soon. The Kanthal wire is 24 gauge wire, and I installed the organic cotton as it is seen. You may notice that the coils show and also have space in between the wire wraps. This is mainly for airflow, and it works great. The organic cotton does touch the bottom of the Cylapex Gate RDA, and, as I hoped it would do, it also successfully absorbs e-juice from what it barely touches. The Dual Infinity Coil allows for a very large vape cloud, full of flavor –it is a definite favorite coil choice of mine.
“What is all of that other stuff in the photo for?” you may be wondering. Reasons. The mod on the right is a Tesla Sub-Mod One. Its skin is the carbon fiber style. The RDA is a 22mm Plume Vail with a single-coil build. I kept it going while I constructed the Dual Infinity Coil; it is in the picture to show a single-coil build. It is the kind of coil you can see turn orange in the middle first, which is what you do want.
You may notice that the white RDA topper in the middle of the photo does not have a drip tip. I took it out. I also managed to unscrew the gasket it fit into, which took some tinkering. These modifications were for increased airflow. It vapes awesome that way, proving that sometimes less is more, after all. The Plume Vail setup produced one amazing vape after another. The e-juice on the right is Aelos Strawberry; it is the best that I have tried, though I cannot wait to try out the other e-juice mixtures out there and review them.
As far as the Dual Infinity coil goes, I have no complaints with it. It is a risky coil and is not as safe as some, in all honesty, albeit. If you build this coil, do not vape at over 40 watts, and do not risk vaping a dry hit due to minimal amounts of e-juice. It can catch on fire. As long as it is saturated, though, and you are vaping under 35 watts, you will minimize the risk of an unwanted flame. For me, the risk is worth it. Here are some readings for the Dual Infinity Coil Vape. At 29.5 watts, it vaped with 0.56 ohms and 4.06 volts. I liked the vape at 34 watts, too. The readings for 34w were 0.56 ohms and 4.36 volts. I would provide a joules result, however I choose to vape with watts levels, for now, because they are far more specific when using the IPV 4s.
In conclusion, please be safe. Feedback, advice, and questions are always welcome. If you build a Dual Infinity Coil, remember not to risk a dry hit. It is an awesome choice for a coil build and well worth the time and effort, even the patience, that it takes to construct. Thank you for reading. May all of your coil builds bring you satisfaction – vape on.
J. C. Martin, III


