Last Updated on March 16, 2018 by Team Spinfuel
The Quad-Snake Coil build with a 22mm RDA,
by Joseph C. Martin, III
As we build coils and vape, we ask ourselves from time to time, “Is there really any reason to build more advanced coils? Cannot I just order a pack of 100 pre-built coils from the web and store my jig?” Well, of course you can. Maybe you live a go-get-’em lifestyle and enjoy things ‘besides’ building coils. I cannot resist building one or two from time to time, myself. I saw a video by RipTrippers, ‘The Inception Coil.’ He was right – therea are many variations of that concept to play around with the airflow inside of an RDA. His videos show many kinds of special coils; I liked them all, especially the ‘Chimney Coil,’ which complemented the RDA with its central air hole. Amazing.
I thought to myself, “I build these little coils all of the time. Can there not be one that would be somewhat more advanced that I could do? Would not it pretty much work as long as it was installed properly? What problems can I solve in regards to airflow, proper e-juice evaporation?” I thought about these things for a few days. I considered plenty of thousands of ideas – all which I’ll filter through again before my next ‘advanced’ invention. I liked notions such as wrapping a smaller gauge wire around a marble, a di, loosely braiding the wire for e-juice, making one two inch long coil to wrap around in a circle in the RDA, etc.
The possibilities were endless. I just could not decide on a best option. Then, it came to me. I was always having trouble deciding on what to do with the organic cotton, once it was in the coil. My current method at the time was to wrap one side of the cotton around the top on its side, and the other side around the bottom. These actions were to ‘cover’ the coil, to reduce heat, and to evaporate more of the e-juice for a more flavorful vape. This method is great, by the way. The problem with it is that if you were to lay into about five super-hard large-draw vapes right after each other (as if one would do such a thing), the cotton becomes loose. Then, when you add more e-juice to your coils, the cotton can become frayed, especially around the fourth time of doing so.
And why would I care? After 20 pretty large cloud exhales in less than half an hour, it would be bedtime. So, I did not care too much about the organic cotton disheveling. No need to fear, albeit – I solved this problem. I even took some photos. The basic notion? Make a normal coil. Insert a puffy strand of organic cotton over an inch long. Be sure to leave the straight part of the wires about an inch or more long or so. Lets say your normal coil was made with 26 gauge Kanthal. Get out some 30 or 32 gauge Kanthal and clip off two strands about 8 inches long.
Carefully wrap some of the thinner wire around the straight inch of one of the coils. Fold the cotton to where one side covers the top and the other the bottom. The cotton makes a round/flattened ‘s’ this way. Continue to wrap the smaller wire around the cotton on the outside of the coil. It is okay to wrap the smaller wire snug so that it will bend to form. Loosen it, though, so as not to have it too tight around the cotton, then wrap it around the other end of the coil. Build this coil twice, and you will have two. As the two coils take four wires to fashion, and the wires curl around like snakes, I call this idea the ‘Quad-Snake’ coil.
You can always add another thin layer of cotton to cover the outside of these coils, however I did not find it necessary. I did figure out that the ‘Quad-Snake’ works best when wound loosely. Remember if you have never tried to build the ‘Quad-Snake,’ it simply does not work very well if it is wound too tightly. Tightness with this coil-build completely defeats its purposes, which mainly stem from cooler airflow attempts. I built this coil first with the brass monkey style RDA from Standard Functions.
Here are some pictures and a few sentences to describe them…
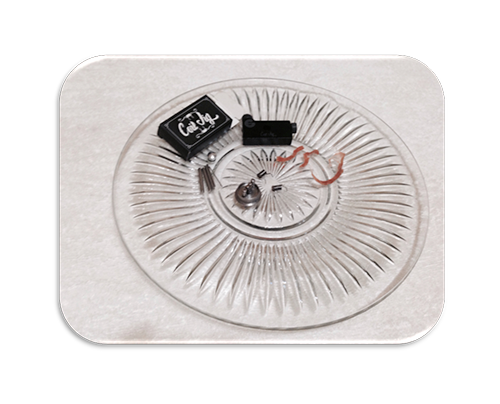
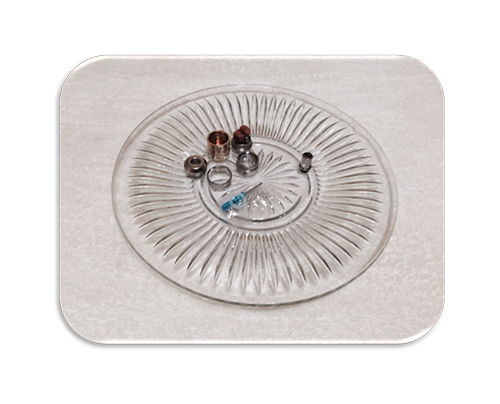 The picture above is the Brass Monkey Style RDA I used to build my first ‘Quad-Snake‘ coil. It is in pieces, and it still contains the two old coils I put together the day before. You can see how the cotton is wrapped around the coils. They are still pink with peaches and cream e-juice. The two coils you cannot really see are normal coils with 24-gauge Kanthal wire. The brass piece can replace the silver pieces, but it does not have as much airflow. The drip tip on the right goes with my trusty ‘eGo One‘ from Joyetech. I like the Pyrex tip better. This RDA’s mid section consists of two overlapping ‘rings’ for adjustable airflow. I have it assembled in such a manner in the final picture.
Here, we see my coil jig and the drip tank disassembled. The coils seen are the ones I decided to replace – they were too large for the outer housing. Not that I suggest it, however I have, at times before, used organic cotton still full of e-juice on the stove. The fumes make for a pretty potent cloud if inhaled with a disassembled e-cig, which is like a short metal straw, once or twice.
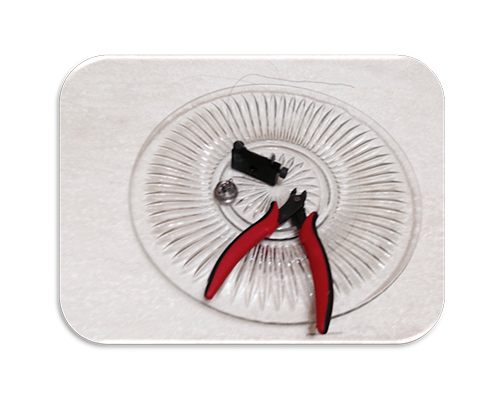
The picture above depicts the first coil wound around the rod on the coil jig, along with my wire cutters and the posts of the RDA. The central post uses to small holes for the coils. You may not be able to see the coil on the jig without zooming in; the jig is set up in the picture, however.
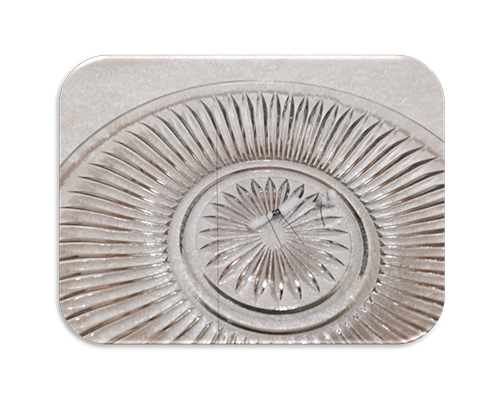
Here, we have two coils. One of them is ready to go inside the ‘Quad-Snake’ build. It is on the right. The other coil shows what the coil looks like before it is wrapped with the 32-gauge wire. The coil on the left looks like the coil on the right when it is finished, though, as you can see, the wraps on the coil on the right are not necessarily very even. They did serve their purpose, though I will wrap them even looser next time. The one on the left ended up having more even outer coil wraps – by then I better knew how to do what I was trying to do.
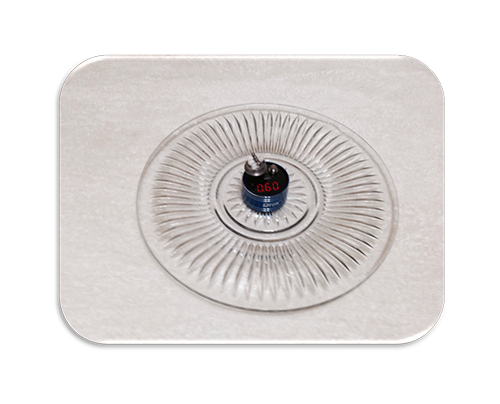
Once I assembled both coils the way I had imagined, I tested the bottom of the RDA with my Drok ohms reader. It shows 0.60 ohms in this picture. The ohms reading changes with e-juice once it is activated with a VV (variable voltage) mod.
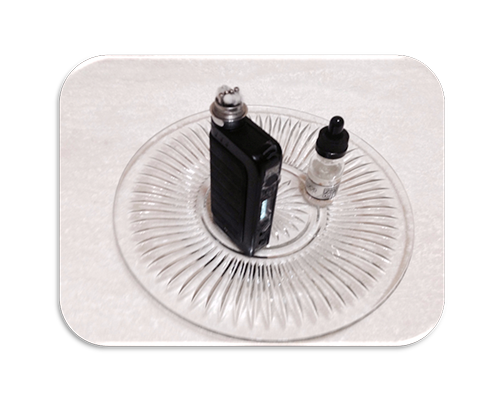
The above picture displays my IPV 4s, the bottom of the Brass Monkey Style RDA, and some dragon-fruit e-juice with 0mg of nicotine. If I ever find a new favorite flavor, the dragon-fruit always holds its strong second place. If you notice, there is a beauty ring below the RDA deck, or bottom. This is because it is on there tight and I could care less about the voltage drop. I leave the beauty ring on there so I can use my Kanger Subtank while building coils. I want my IPV 4s to last for as long as possible.
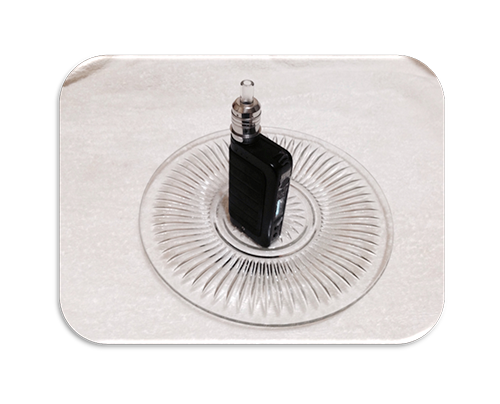
Last but not least, the above picture shows the final assembled device. I have my current favorite drip tip atop the RDA which houses the ‘Quad-Snake‘ coil. The polished steel contains adjustable airflow holes, and the setup vaped great at 29.5 watts. I did replace this coil build with a single coil for airflow reasons. Next time, I will build the ‘Quad-Coil’ without it being too tight, and I think it will vape even better then.
In conclusion, thank you for reading and happy coil building. Remember to always comment on any VV mods reviews, to check them out on Spinfuel.com. I hope you enjoy building the ‘Quad-Snake’; let me know if you do it and what you think.
JC Martin III


